


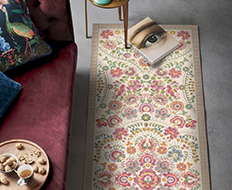
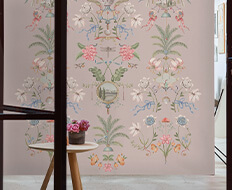


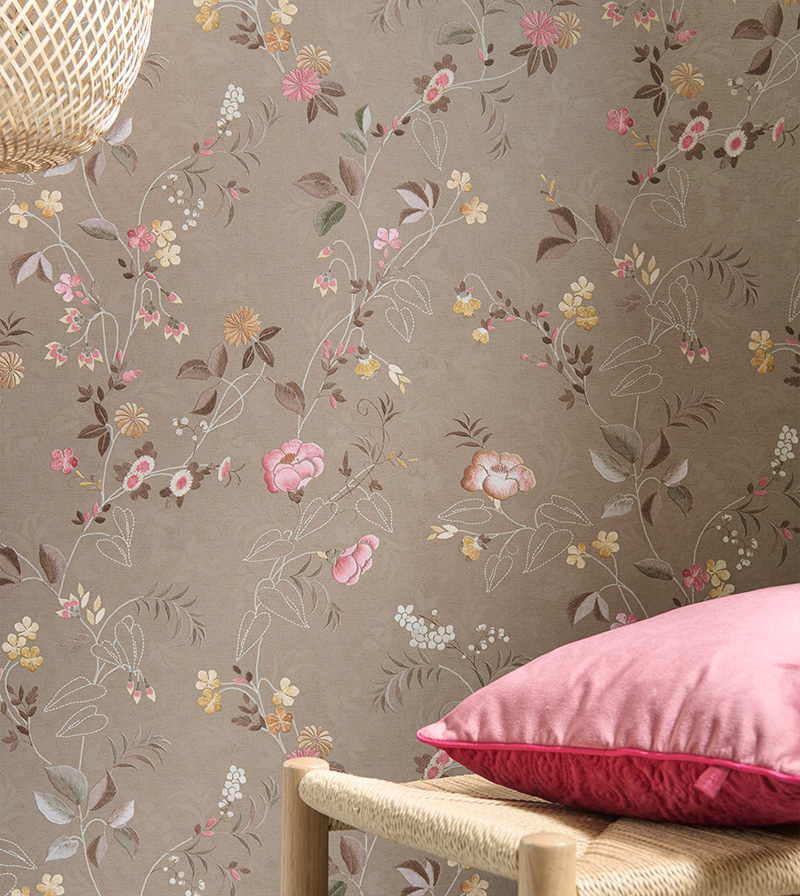
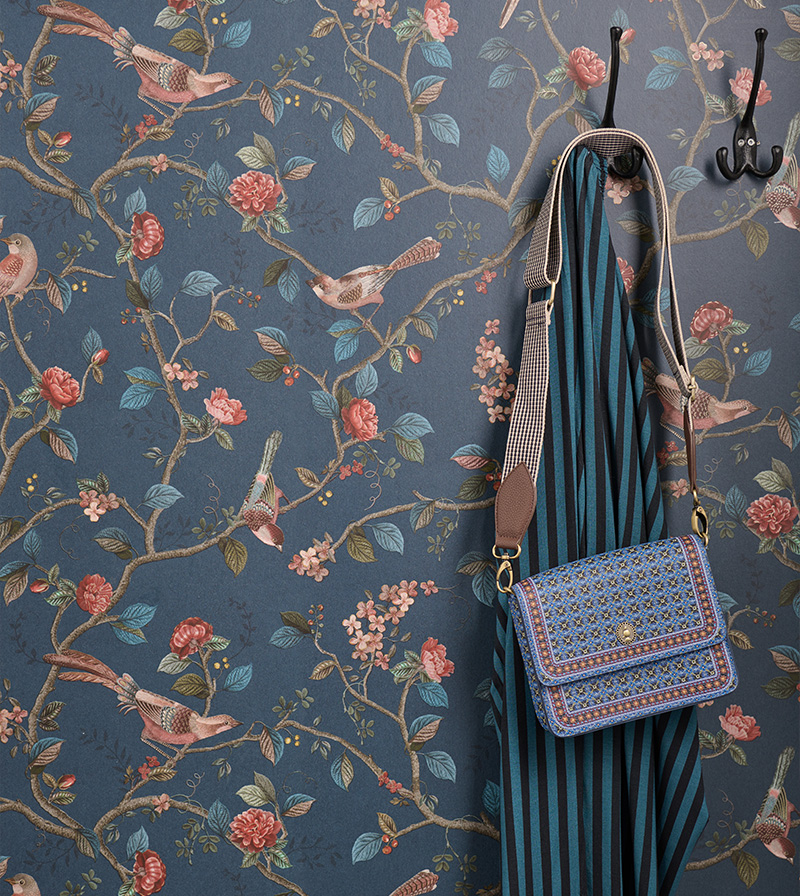
You have selected your favourite Pip Studio non-woven wallpaper and are ready to give your bedroom, living room or kitchen a makeover. But how do you do that in the right way? Here's Pip Studio's very easy wallpaper guide for beginners with non-woven wallpaper. The big advantage of non-woven wallpaper is that you no longer have to apply the rollers with glue the rolls, but only the wall. Say goodbye to that wallpaper table. With the help of the step-by-step guide below and a few golden tips, even you can wallpaper like a professional!
Before you begin: preparation of the surface
A good start is half the work! Let's start with some preliminary steps. It is important to have a smooth surface. Your walls must be smooth, grease-free, dry, clean, dust-free and neutral in color. If there is old wallpaper on the wall, it must be removed first. Remove stains or color differences on the wall to prevent them from showing through. All holes and cracks must be filled and sanded smooth. Treat highly absorbent walls with a primer.
Apply glue with roller on the wall
Prepare the glue as directed on the package. Using a roller, coat the wall well with line. Glue in the wall evenly. It is best to use a brush for the corners. Make sure that you always have an overlap of approximately 15-20 cm of more glue than the web width of the non-woven wallpaper. This way you prevent the glue roller from touching the already applied strips.
Advantage: you do not need a pasting table, the wallpaper does not have to soak in, no time wasted!
Tip: Always apply an overlap of approx. 15-20 cm more glue than the web width of the non-woven wallpaper. This way you prevent the glue roller from touching the already applied strips.
Apply non-woven wallpaper directly to the wall
Apply the first strip of non-woven wallpaper in the wet adhesive layer. Roll up the web of non-woven wallpaper cut to length with the back to be glued outwards. For example, the web can be easily and accurately unrolled in the adhesive layer on the wall. To smooth out and press the seams, press the wallpaper firmly with a wallpaper spatula and / or seam roller.
Advantage: clean, easy to correct and easy to smooth out.
Cut non-woven wallpaper to size
You are almost done! We have already arrived at the last step. The wall covering with non-woven wallpaper is almost finished. As soon as the last run of non-woven wallpaper is also good on the wall, cut off the excess non-woven wallpaper at the top and bottom. Cutting non-woven wallpaper on the ceiling and skirting board is best done with a wallpaper ruler and a Stanley knife. Your wall with the beautiful new non-woven wallpaper is now almost finished!
Advantage: dry non-woven wallpaper is much easier and more accurate to cut to size than soaked paper.
Easy to remove
Removing non-woven wallpaper is very easy! You pull the strips dry from the wall strip by strip. There will be hardly any leftovers on the wall. Fast, clean and simple, it is that easy to remove non-woven wallpaper!
Advantage: properly glued non-woven wallpaper is dry and easy to remove from the wall by hand. The surface remains dry and undamaged, so that a new non-woven wallpaper can be applied easily, quickly and cleanly.
Read also: Wallpaper tips